

{blogtober day 29} tip Tuesday :: clean and revive your Cricut mats
At the beginning of 2020, we moved into the cabin, and I swore to myself that I would be good, that for once in my life, I would not buy any new crafty goodies. We were in a small space and it didn’t make sense until the house was built and I would have somewhere to put them. Six weeks later, my plans – both to be good and for a quick house build – were thrown out the window, like many peoples, as the world ground to a halt. I don’t want to say I immediately went into emergency mode and became a one woman AusPost stimulus program, but the husband quickly getting on first name basis with the post office staff probably says it for me.
I was good though, in the pandemic sense of the word. I only ordered consumables. Mostly limited to things for specific projects. By December, however, it was increasingly clear that just like the pandemic, my house build was going nowhere fast. And there is only so much willpower one solitary little crafter can muster up. Especially when Spotlight is having a sale and Santa is of the impression I’ve been a very good girl.

Enter – the Cricut Maker. Almost four years on, it remains one of my favourite toys. On top of the mats that came with it, I bought one multi-pack, and a pack of the 24″ mats. That’s it. All of which, I bought while living in the cabin, so less than ideal storage conditions, and I will confess I wasn’t the most particular about getting the covers back on. Which is to say – they are in a state. I am at the point where I am using painters tape to hold things on the mats, which suggests it’s time to get them cleaned up, or get them replaced.
I googled around, pulled up a few different options, and had a crack at cleaning and rejuvenating two mats as a practice. I was pleasantly surprised at the results – I’m not sure they are quite as sticky as brand new, but the green mat holds metallic vinyl in place perfectly, so for a low fuss method, I am calling it a win
HOW I REVITALISED MY CRICUT MATS
I used:
*dishwashing liquid
*warm water
*cleaning cloth – I used an old chux (washed & clean)
*scraper tool of some kind (I used the Cricut one that I use for burnishing transfer tape)
My method:
*Pop a squirt of dishwashing liquid into a bowl or laundry sink. Add warm water – I had about two or three inches of water in my laundry sink. It doesn’t need to be a lot.
*Lay mats out on the laundry bench or other flat, waterproof surface
*use the scraper to remove any debris
*dampen cloth – decently damp, but not dripping wet
*starting at one corner, clean the mat in a circular motion with mild pressure – do not scrub
*for particularly stubborn areas, I left them with a bit of water to “soak” and then came back to them
*rinse cloth with clean water and gently wipe over to remove excess soap suds
*leave to air dry (I did lift up the clean mats and place a towel underneath to help dry the under side & bench from run off)


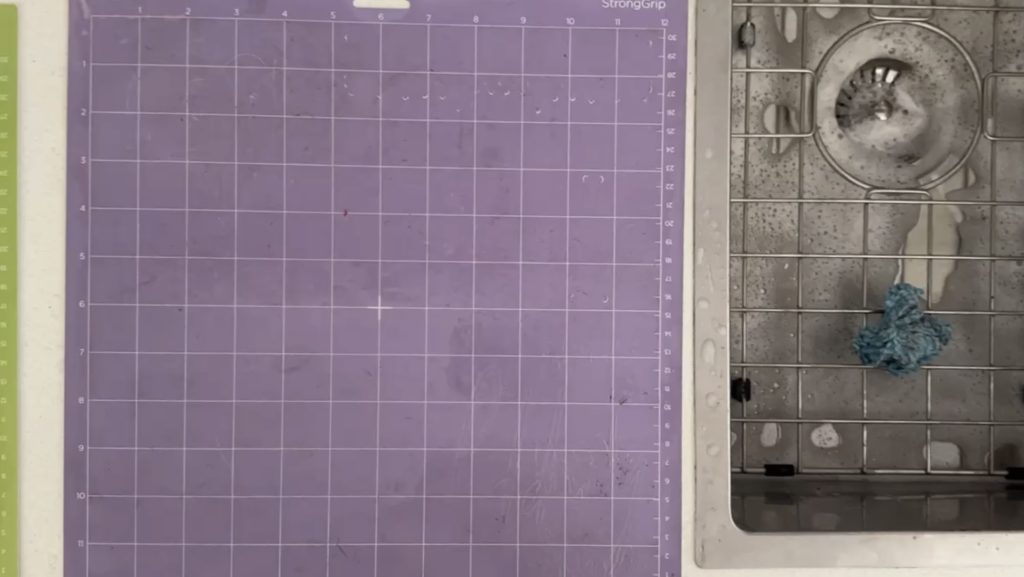
Some methods suggest then spraying with adhesive, but I found I didn’t really need it? For my purposes, I found the wash was enough to get the mats sticking again. Now I just need to find time to do the rest of them!!

 A weekly podcast on creativity, connection, community and collaboration

